In this post, I will highlight how WebSockets enable real-time communication with minimal complexity. By leveraging WebSockets, developers can implement instant message delivery without relying on complex polling or delayed responses. This is crucial for providing a smooth user experience in chat applications. With iOS's native support for WebSockets—such as URLSessionWebSocketTask—this post will demonstrate a simple, modern, and efficient solution for real-time messaging, while teaching developers essential skills like asynchronous communication and network management.
In this tutorial, we will create a server using a Dockerized Node.js environment and two client applications: a simple HTML-JavaScript client and an iOS app WebSocket client.
Websocket chat server
To avoid confusion, let’s create a server folder to store all the necessary files. The first step is to create a new, blank Node.js project
npm init -y 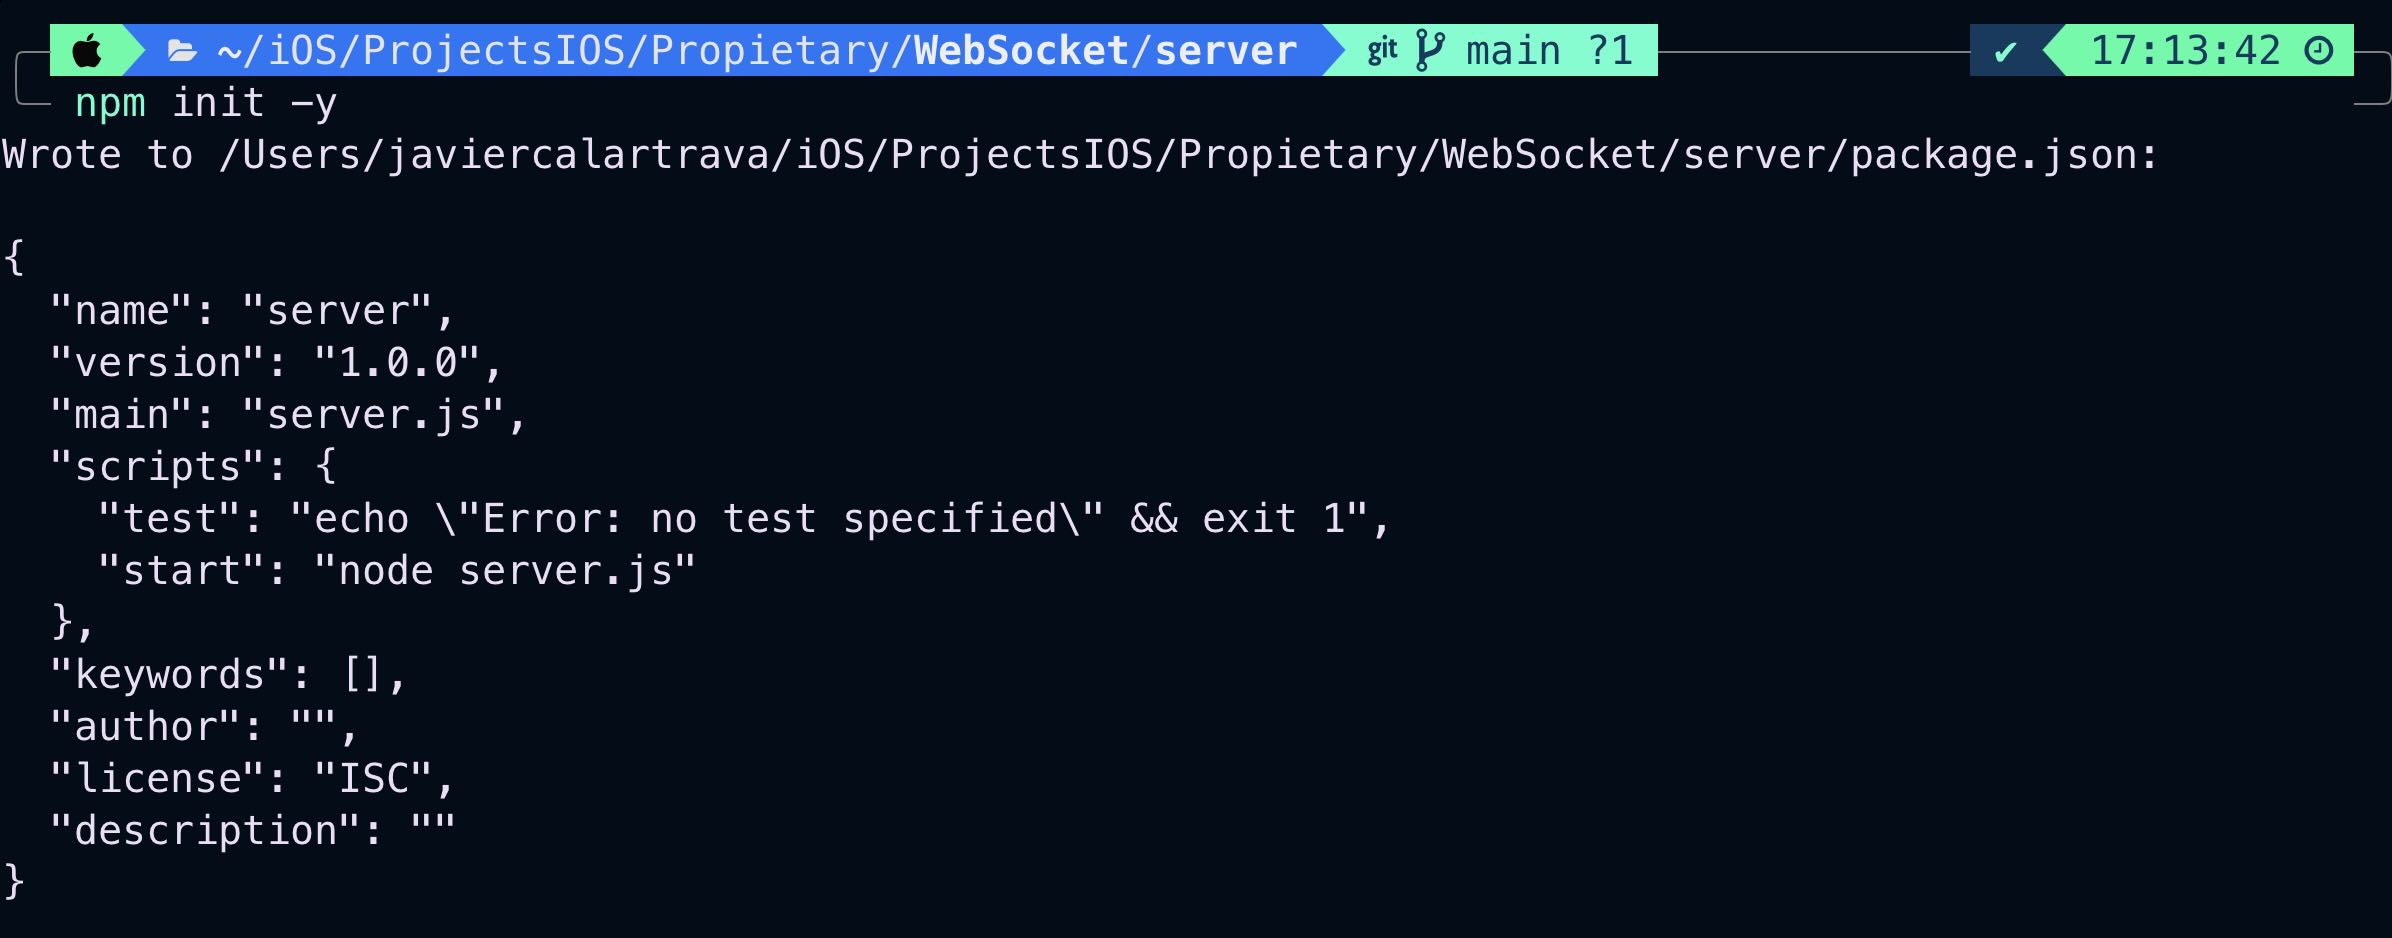
npm install ws express cors 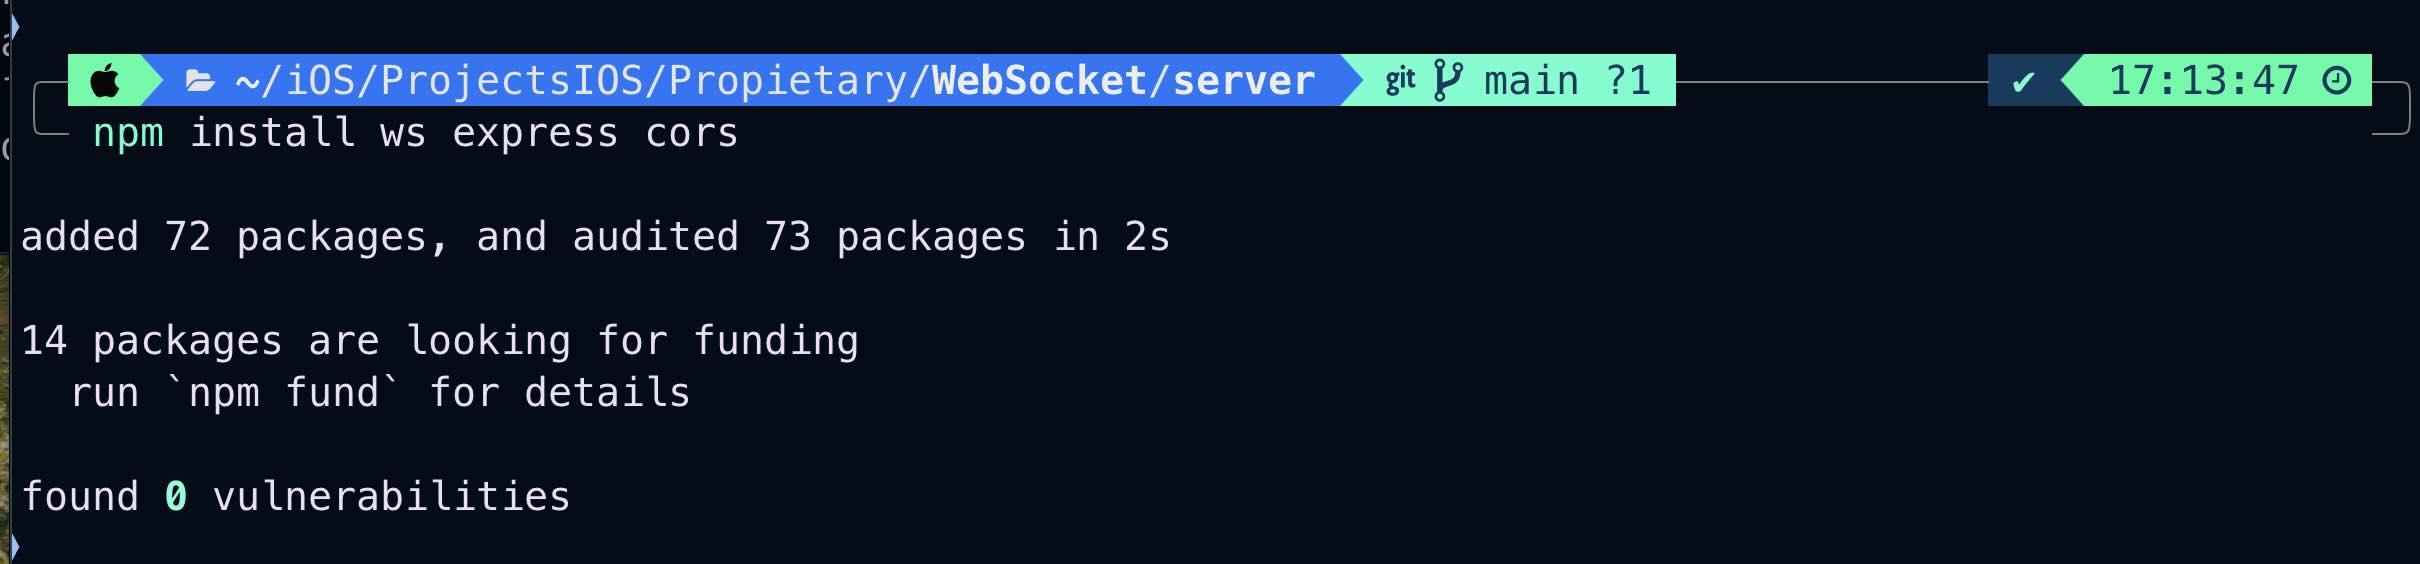
const WebSocket = require('ws');
const express = require('express');
const cors = require('cors');

const app = express();
app.use(cors());

const server = app.listen(8080, () => {
  console.log('Servidor HTTP escuchando en el puerto 8080');
});

const wss = new WebSocket.Server({ server });

wss.on('connection', (ws) => {
  console.log('Cliente conectado');

  ws.on('message', (message) => {
    console.log(`Mensaje recibido: ${message}`);

    // Enviar el mensaje a todos los clientes conectados
    wss.clients.forEach((client) => {
      if (client.readyState === WebSocket.OPEN) {
        client.send(message.toString());
      }
    });
  });

  ws.on('close', () => {
    console.log('Cliente desconectado');
  });
});
FROM node:14
WORKDIR /usr/src/app
COPY package*.json ./
RUN npm install
COPY . .
EXPOSE 8080
CMD ["node", "server.js"] server.js should run using Node.js when the container starts.docker build -t websocket-chat-server . 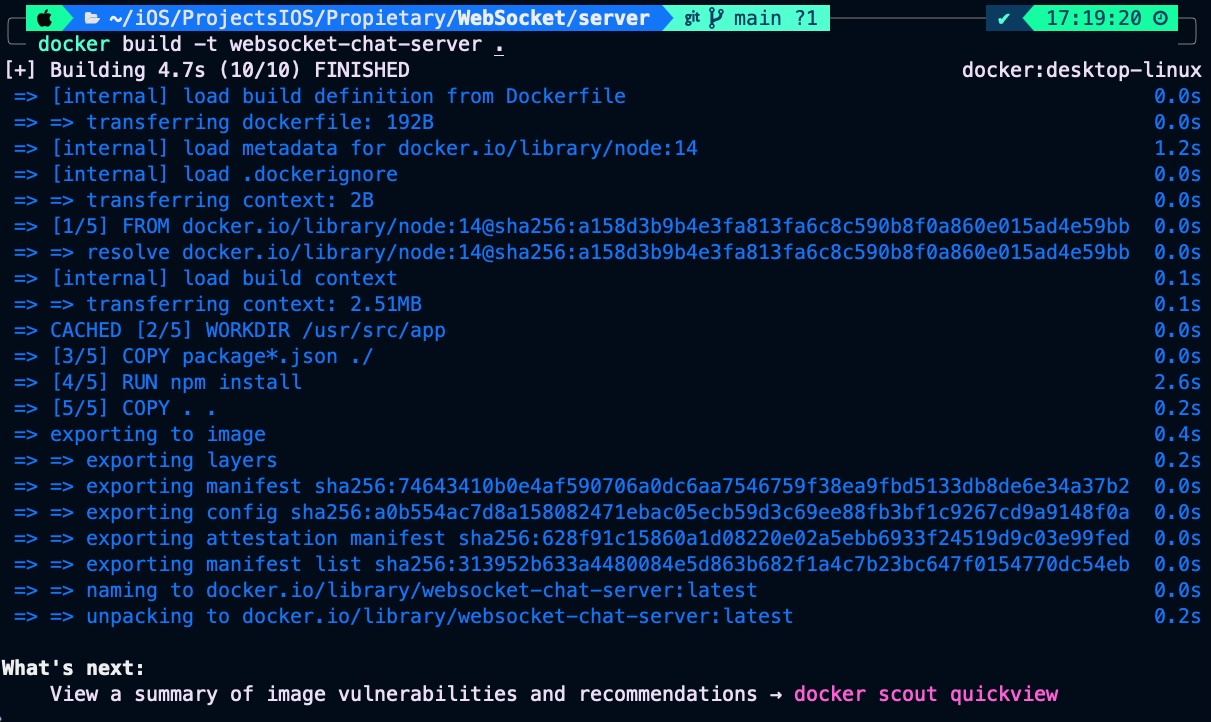
Finally run the image:
docker run -p 8080:8080 -d websocket-chat-server 
For validating websocket server we will create an small html-javascript client:
<!DOCTYPE html>
<html>
<body>
  <ul id="messages"></ul>
  <input type="text" id="messageInput" placeholder="Write a message">
  <button onclick="sendMessage()">Send</button>

  <script>
    const socket = new WebSocket('ws://localhost:8080');

    socket.onopen = function(event) {
      console.log('Setup connection', event);
    };

    socket.onmessage = function(event) {
      const messages = document.getElementById('messages');
      const li = document.createElement('li');
      li.textContent = event.data;
      messages.appendChild(li);
    };

    function sendMessage() {
      const input = document.getElementById('messageInput');
      const message = input.value;
      socket.send(message);
      input.value = '';
    }
  </script>
</body>
</html>
This HTML code creates a basic web-based chat interface using WebSocket for real-time communication. It consists of an unordered list (<ul>) to display messages, an input field (<input>) for entering messages, and a “Send” button. The script establishes a WebSocket connection to a server at ws://localhost:8080. When the connection opens, a log message is displayed in the console. Incoming messages from the WebSocket server are dynamically added as list items (<li>) to the message list. When the “Send” button is clicked, the sendMessage function retrieves the user’s input, sends it to the server via the WebSocket, and clears the input field.
Open file with your favourite browser:

Console log show that is properly connected and messages written are properly broadcasted
websocket iOS Client
We will follow the same design as we did with HTML and JavaScript:
struct ContentView: View {
    @StateObject private var webSocketManager = WebSocketManager()
    @State private var messageText = ""

    var body: some View {
        VStack {
            List(webSocketManager.messages, id: \.self) { message in
                Text(message)
            }

            HStack {
                TextField("Enter message", text: $messageText)
                    .textFieldStyle(RoundedBorderTextFieldStyle())

                Button("Send") {
                    webSocketManager.send(messageText)
                    messageText = ""
                }
            }.padding()
        }
        .onAppear {
            webSocketManager.connect()
        }
    }
} ContentView that interacts with a WebSocket connection to display and send messages in a real-time chat interface. It uses a WebSocketManager (assumed to handle WebSocket connections and messaging) as a @StateObject, ensuring it persists across view updates. The body consists of a VStack with a List that dynamically displays messages received via the WebSocket, and an input section with a TextField for composing messages and a Button to send them. When the button is pressed, the typed message is sent via the webSocketManager, and the input field is cleared. The onAppear modifier ensures that the WebSocket connection is initiated when the view appears on screen.class WebSocketManager: ObservableObject {
private var webSocketTask: URLSessionWebSocketTask?
@Published var messages: [String] = []
func connect() {
let url = URL(string: "ws://localhost:8080")!
webSocketTask = URLSession.shared.webSocketTask(with: url)
webSocketTask?.resume()
receiveMessage()
}
func send(_ message: String) {
webSocketTask?.send(.string(message)) { error in
if let error = error {
print("Error sending message: \(error)")
}
}
}
private func receiveMessage() {
webSocketTask?.receive { result in
switch result {
case .failure(let error):
print("Error receiving message: \(error)")
case .success(let message):
switch message {
case .string(let text):
DispatchQueue.main.async {
self.messages.append(text)
}
default:
break
}
self.receiveMessage()
}
}
}
} WebSocketManager class manages a WebSocket connection and handles sending and receiving messages. It uses URLSessionWebSocketTask to connect to a WebSocket server at a specified URL (ws://localhost:8080) and maintains an observable array of received messages, messages, for use in SwiftUI or other reactive contexts. The connect method establishes the connection and starts listening for incoming messages using the private receiveMessage method, which recursively listens for new messages and appends them to the messages array on the main thread. The send method allows sending a string message over the WebSocket, with error handling for failures. This class encapsulates WebSocket communication in a way that supports reactive UI updates.
Conclusions
WebSocket is a server technology, distinct from REST APIs or GraphQL, that is particularly well-suited for real-time, bidirectional communication. It’s ideal for applications that require fast, continuous interactions, such as real-time chats, online games, and collaborative tools (e.g., Figma, Google Docs). I hope you enjoyed reading this as much as I enjoyed writing and programming it.
You can find the source code used for this post in the repository linked below.
References
- Foundation / URLSessionWebSocketTask
Apple Official Documentation